
According to Statista, an average of 6,140 mobile apps were released through the Google Play Store every day. Looking at the mere number, one would know that mobile app development companies are on the rise as every minute an app is released. From gaming to business to social networking, there is an app for everyone out there.
Conceptualization
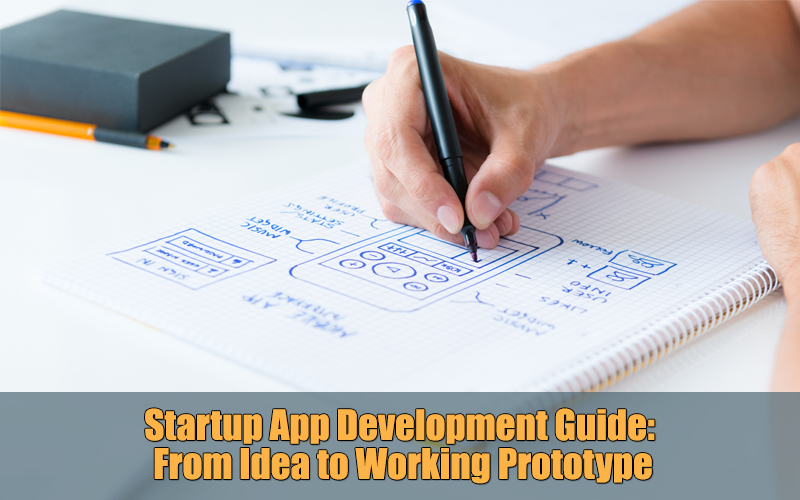
But if we place all apps under the microscope, they’ll all have one thing in common, that is, the initial development stage. Every app starts from an idea that moves along a uniform strategy, and gradually, it reaches its prototype stage. Here the original concept is fleshed out for the very first time.
The entire process from idea to a working prototype involves a lot of phases and steps that I’ll be discussing in detail because these are the initial stages of app development that need to go right; otherwise, there are high chances that your app will never see the light of day.
Step 1 –Keep your Development Team posted
Whenever you plan to develop an app, it should reflect your business objective and your target market; you should also keep in mind your competition. All this needs to be done in a systematic manner where a plan is devised that is regulated and checked, respectively. At this stage, you will provide your development team with all the related business documentation such as your business model, business plan, and the pitch deck. Every little thing that you’ll contribute to the development team will eventually help you structure your app according to your company’s profile.
Step 2 – Look up your Competition
While providing your development team with all the relevant documents, you’ll be well aware of what your competition actually looks like, but you can never have too much information about your competition, can you? Therefore, I’ll advise you to go the extra mile while you research your competition. When looking up your rival apps, you should take three things into consideration, the app’s rating and reviews, number of installs, and the history of the company that has developed the app.
All this information can be accessed without any cost at the app/play store and also on the company’s website where you can find white papers and case studies.
After thoroughly studying your competitors, you will understand their USP and how they’ve addressed their customers. This research will help you strategize your plan of action, provide more value through your app, find new niches to work on, and new angles to attack.
Step 3 – Incorporate Monetization if needed
The 3rd step will let you determine your app’s functionality. At times, the development of internal apps might be required, which are to improve business processes or to mobilize sales force; either way, these apps are meant to regulate your business routes. You might also develop a client-facing app or an e-commerce app that serves as a marketing tool that’ll push the need for monetization.
There are several monetization methods that solely depends on the type of app that you are constructing. For example, an app can have advertising, in-app purchases, subscriptions, and premium features depending on its target audience and functionality.
Step 4 – Devise a Marketing Strategy
At this stage, you might consider drafting a marketing plan. An iterative plan will enable you to increase user retention, app adoption, conversion rates, and also other significant metrics. While devising a marketing strategy, you will understand that what features are vital to your app, like push notifications, on-boarding process, etc.
Step 5 – Plan an MVP
You need to learn to walk before you can run, and your minimum viable product (MVP) will be your baby steps. The purpose of an MVP is to understand and determine your app’s primary functionality so that you can prioritize a list of features that will be integrated into the MVP first.
Prototyping
The end result of conceptualization will be a working prototype. It is basically a fleshed-out version of your app’s UI, which is meant to test user experience and functionality issues at a meager cost. The primary difference between a prototype and an MVP is that a prototype is less complicated than an MVP and is ideal for iterative design and development.
Stage 1 – Create user personas
When you draft a user persona, it translates into a sturdy marketing and design tool, and they are also meant to represent key user groups for your app. Your app can itself target various user segment groups, but then again it is important to categorize these segments in a manner that translates into functionality and UI decisions.
Stage 2 – Sketch the main screens
The next level of prototyping needs you to move to the next level. Finally, it’s time to put something on paper or screen (digital). If you’re good in sketches, then now is the time to show off your sketching skills. Draft a sketch, and it’ll become clear how different elements will be positioned on the screen. And the best thing about sketches is that they are dirt cheap to make and can also come in handy when you showcase your app to stakeholders.
Stage 3 – Create wireframes from sketches
You’re almost there, just one step away from creating your actual prototype. Once your sketches are approved by stakeholders, then it’s time to move to wireframing. It is basically a low-fidelity representation of your app’s UI, although it still lacks functionality. Mobile app development companies at times skip the sketch stage and move directly to wireframing. But if a problem occurs in a wireframe, then it’ll take more time to fix compared to the sketch stage.
Stage 4 – Construct your prototype
This is the stage when you finally sit and work on your prototype. The wireframes that you made can easily be transformed into a working prototype. You just need to add the basic interactivity and functionality, and your prototype is ready! This will help you improve the user journey and calibrate the UI. The primary reason why you should consider working on a prototype than to jump directly on the MVP is cost efficiency because fixing a prototype will be much easier and less expensive than trying to incorporate changes in the code in the MVP.
Make sure the prototype is bug-proof
This is the last stage where you can finally go to your MVP. But, before you do that, you need to make sure your prototype is running smoothly. You can share it with users, investors, and stakeholders. This is also the point where you’ll start running the initial calibrations and user testing to make your prototype flawless based on the user feedback. With all this done, you’ll have a functional prototype; now you can go your MVP with a UI and UX strategy that is already market-tested.
Conclusion
There are companies that directly jump to the MVP and ditch the entire idea to prototype journey. You could do that as well, but you’ll have to do a ton of research while constructing your MVP because even the smallest error could backfire big time. Therefore, I prefer the whole step by step process, because every step will give you a chance to calibrate your process and at the end, you’ll have a flawless prototype that can quickly transform into a market winning MVP.
Author Bio
 AsimRais Siddiqui is living his passion for emerging technologies and software as the Co-Founder and CTO at TekRevol LLC. An expert in next-generation technology and software solutions, he has over a decade’s worth of experience in development and enterprise digitalization.


