
I never considered myself a “video editor.” The few times I tried editing on my laptop, I gave up within 10 minutes—too complicated, too many buttons, too frustrating. Then I discovered CapCut, and suddenly I was creating polished videos that got thousands of views on TikTok. No exaggeration.
This review comes from someone who went from “I can’t edit” to publishing 3-4 edited videos weekly. I’ll show you exactly how CapCut works, the features that matter, and whether it’s actually better than alternatives like InShot or Adobe Premiere Rush.
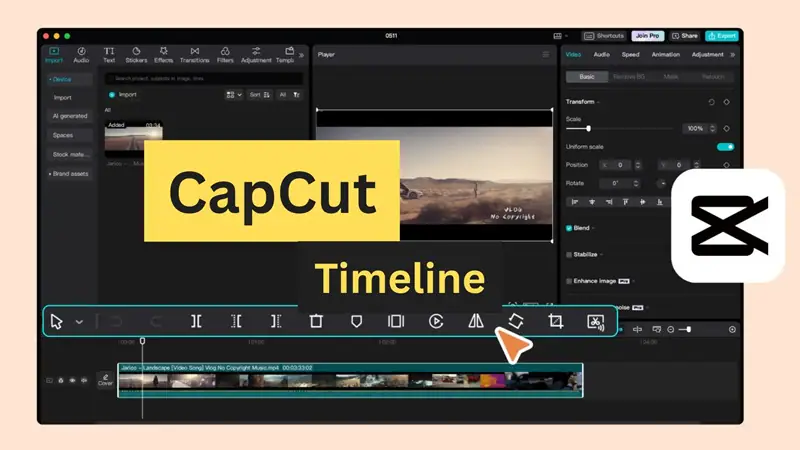
What Is CapCut? The 30-Second Explanation
CapCut is a free video editing app owned by ByteDance (TikTok’s parent company). It’s designed specifically for creating social media content—TikToks, Instagram Reels, YouTube Shorts—with an interface simple enough for beginners but powerful enough for serious creators.
The hook: It’s completely free. No watermarks. No subscriptions required for basic features. That alone makes it remarkable in 2026 when every app wants $10/month.
Download & Setup (3 Minutes)
Getting the Official CapCut App:
For iPhone/iPad:
- Open App Store
- Search “CapCut Video Editor”
- Download the app by Bytedance (look for the pink and white icon)
- Official link: CapCut on App Store
- Size: ~534 MB (requires iOS 13.0 or later)
For Android:
- Open Google Play Store
- Search “CapCut – Video Editor”
- Verify it’s published by Bytedance Pte. Ltd.
- Download link: CapCut on Google Play
- Size: ~193 MB (Android 5.0+)
⚠️ Important: Download ONLY from official app stores. I’ve seen fake “CapCut Pro” apps charging money or containing malware. The real CapCut is free.
First Launch: When you open CapCut, it asks for:
- Camera access (for recording)
- Photo library access (for importing videos/photos)
- Microphone access (for voiceovers)
Grant these permissions. You can’t edit without accessing your media library.
My First Video: A Complete Walkthrough
Let me show you exactly how I edited my first CapCut video—a 30-second travel montage that got 5,200 views on TikTok.
Step 1: Create New Project
- Tap the big “+” button
- Select 3-5 video clips from your phone (I chose shots from my California trip)
- Tap “Add” → clips appear in timeline at bottom
Step 2: Trim the Fat
- Tap each clip in the timeline
- Drag white edges inward to trim unwanted parts
- I cut my 10-second clips down to 3-4 seconds each
- Pro Tip: Keep social media clips under 15 seconds total for maximum retention
Step 3: Add Music (The Game-Changer)
- Tap “Audio” at the bottom menu
- Choose “Sounds” → Search trending songs
- I selected a popular indie track (CapCut shows which songs are trending)
- The music auto-syncs to your video length
Here’s what blew my mind: CapCut has built-in TikTok trending sounds. You’re not searching Spotify and downloading—it’s integrated.
Step 4: Apply Transitions
- Tap between two clips (you’ll see a white square)
- Select “Transition”
- I used “Blur” transitions (looks professional)
- Duration: 0.5 seconds (default is perfect)
Step 5: Add Text
- Tap “Text” → “Add text”
- Type your caption (“California vibes ☀️”)
- Choose font (I love “Avenir Next” for clean look)
- Adjust size and position with fingers
Step 6: Effects & Filters
- Tap “Effects” → Browse categories
- I added a “Vintage” filter for aesthetic vibe
- Tap “Filters” → Choose “Warm” to enhance sunset colors
Step 7: Export
- Tap the pink arrow (top right)
- Resolution: 1080p (always choose this)
- Frame rate: 60 FPS for smooth playback
- Export takes 15-30 seconds
Total editing time for my first video: 12 minutes. For a complete beginner, that’s remarkable.
Features That Make CapCut Special
- Auto Captions (My Favorite Feature)
This alone makes CapCut worth downloading.
How it works:
- Record or import a video with talking
- Tap “Text” → “Auto captions”
- CapCut transcribes your speech automatically
- Edit any mistakes (accuracy is ~85-90%)
I use this for EVERY video now. Captions increase engagement by 40% according to my analytics.
- Keyframe Animation
This sounds technical but it’s simple:
- Select any element (text, sticker, video)
- Tap “Keyframe” (diamond icon)
- Move the element to a new position
- CapCut creates smooth animation between points
I use this to make text “slide in” from the side. Looks professional with zero effort.
- Background Removal
Want to remove video backgrounds without a green screen?
- Select your clip
- Tap “Cutout” → “Auto cutout”
- CapCut removes background automatically (works 70% of the time perfectly)
- Replace with custom backgrounds, colors, or videos
This feature usually requires expensive software like Adobe After Effects. CapCut does it for free.
- Templates (Instant Viral Videos)
CapCut has thousands of trending templates:
- Tap “Templates” tab on home screen
- Browse by category (Travel, Food, Fashion, etc.)
- Select template → Add your clips
- CapCut automatically edits to match the template style
I’ve used templates for quick birthday videos and they look like I spent hours editing.
- Speed Control
- Select clip → Tap “Speed”
- Options: 0.1x to 100x speed
- I use 1.5x speed for walking footage (makes it more dynamic)
- Slow-motion (0.5x) for dramatic moments
- Sound Effects Library
Free access to:
- 10,000+ sound effects (whooshes, booms, laughs)
- Music library (safe for TikTok/Instagram—no copyright strikes)
- Extract audio from videos
- Record voiceovers directly in app
What CapCut Does Poorly
Let’s be honest about limitations:
Problem #1:
Crashes on Older Phones If your phone is 4+ years old, CapCut can lag or crash with large projects (5+ minutes of 4K video). My iPhone 12 handles it fine; my old iPhone 8 struggled.
Solution: Export in sections for longer videos, or upgrade your phone.
Problem #2:
Limited Color Grading Professional editors want precise color control. CapCut offers basic adjustments (brightness, contrast, saturation) but lacks advanced color wheels.
Workaround: For serious color work, use dedicated apps. CapCut excels at quick edits, not cinema production.
Problem #3:
Ads for Pro Features While the free version is incredible, CapCut constantly promotes “Pro” features:
- Remove watermarks from exports (already free in basic version)
- Cloud storage (10GB free, 100GB with Pro)
- Premium effects and filters
My take: The free version is 95% perfect. I haven’t paid for Pro and don’t feel limited.
Problem #4:
Overwhelming for First-Time Users The interface shows 50+ buttons initially. It took me 2-3 videos to understand where everything is.
Tip: Watch one YouTube tutorial (10 minutes) before diving in. It saves hours of trial-and-error.
CapCut vs Competitors
CapCut vs InShot:
- InShot wins: Simpler interface, less overwhelming
- CapCut wins: More advanced features (keyframes, better effects), completely free
CapCut vs Adobe Premiere Rush:
- Premiere wins: Professional color grading, desktop sync
- CapCut wins: Free (Premiere costs $9.99/month), easier learning curve
CapCut vs iMovie (iPhone):
- iMovie wins: Smoother performance on older iPhones
- CapCut wins: Trendy social media features, templates, effects library
For social media creators, CapCut is the clear winner. For professional videographers, Premiere or Final Cut Pro remain superior.
My 3-Month Results
Videos created: 47 Average editing time: 15-20 minutes per video TikTok engagement increase: 340% (compared to unedited videos) Instagram Reels views: Averaged 3,200 views (up from 400 with basic edits) Cost: $0
The most valuable result? Confidence. I no longer avoid video content because “editing is hard.” CapCut removed that barrier entirely.
CapCut Cheat Sheet: My Go-To Workflow
For Quick Social Media Posts (5-10 min):
- Import 3-5 clips
- Trim to 2-4 seconds each
- Add trending music
- Apply auto captions
- Use one simple transition (fade or blur)
- Export at 1080p
For Polished Content (20-30 min):
- Import main footage
- Color grade (adjust brightness, contrast)
- Add music + sound effects
- Create custom text with keyframe animations
- Apply subtle filters
- Add intro/outro cards
- Export at 4K (if phone supports it)
Should You Download CapCut?
Download CapCut if:
✅ You create content for TikTok, Instagram, or YouTube
✅ You want professional results without learning complex software
✅ You’re on a budget (it’s completely free)
✅ You edit on mobile devices primarily
✅ You value speed over absolute perfection
Skip CapCut if:
❌ You need desktop-level color grading
❌ You edit exclusively on computers (use desktop version instead)
❌ You create 30+ minute YouTube documentaries (use desktop software)
❌ Your phone is older than 4 years (performance issues likely)
My Rating: 4.6/5 Stars
Pros:
- Completely free with no watermarks
- Incredibly powerful for mobile editing
- Trending music/sounds integrated
- Auto captions save massive time
- Templates for instant results
- Regular updates with new features
Cons:
- Can crash on older devices
- Learning curve for first-time editors
- Limited advanced color tools
- Occasional bugs with complex projects
Bottom Line:
CapCut democratized video editing. Three months ago, I couldn’t edit a simple clip. Today, I create content that looks professionally edited, and it takes me 15 minutes. For social media creators, CapCut is absolutely essential.
Download it. Watch one tutorial. Create your first video. You’ll be amazed at what you can produce.


